Asset List Report
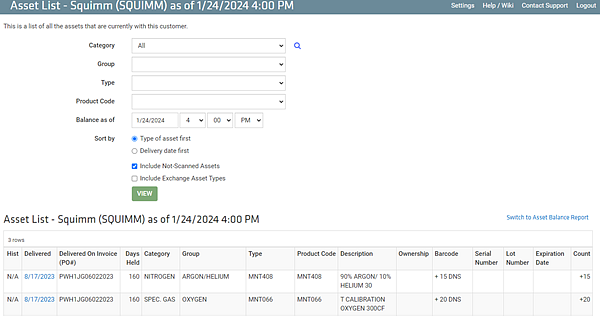
The Asset List report displays all the unique scanned assets out to the selected customer as of a specified balance date.
Accessing the Asset List Report
-
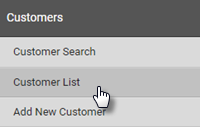
Go to Customers ð Customer List.
-
Find the customer you’re looking for and click View.

-
Click the Customer Reports tab.

-
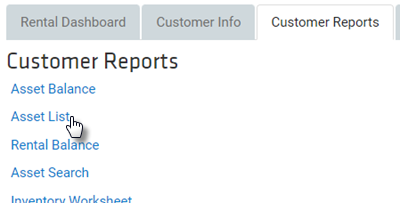
Click Asset List.
Generating an Asset List Report
When you open Asset List, a report is automatically generated based on the default search settings: All assets, scanned and not scanned, on the customer’s balance as of the current date and time.
To create a report using different search settings:
-
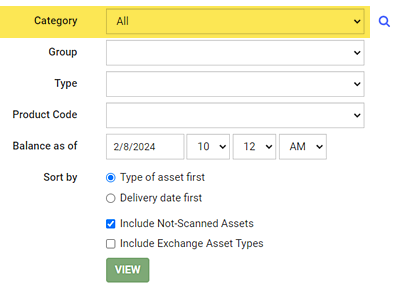
Choose the category of assets you want included in the report by selecting one from the Category drop-down. All is selected for you by default, and will include assets with any category in the report.
-
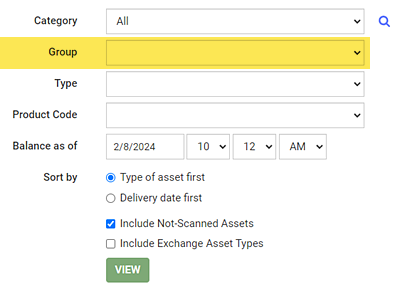
Choose the group of assets you want included in the report by selecting one from the Group drop-down. All is selected for you by default, and will include asset in any group in the chosen category in the report.
-
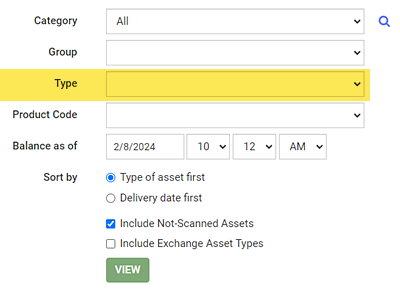
Choose the type of assets you want included in the report by selecting one from the Type drop-down. All is selected for you by default, and will include assets of any type in the selected category and group in the report.
-
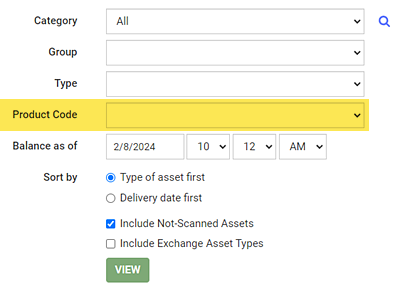
Choose the product code of assets you want included in the report by selecting one from the Product Code drop-down. All is selected for you by default, and will include any assets of any product code in the report.
-
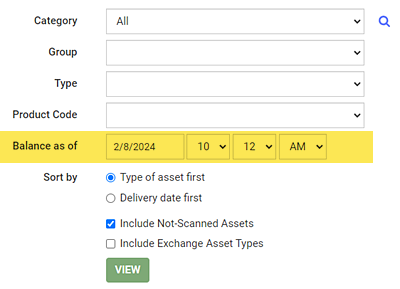
By default, the report provides an Asset List as of the current date and time. To select a different date and time to see what unique assets had been on the balance then, select from the Balance as of drop-downs.
-
Choose how the list is to be sorted by selecting a Sort By option.
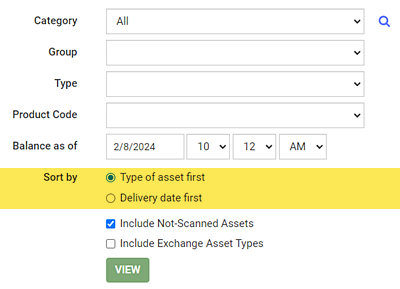
Type of asset first — Sorts by asset classification, then delivery date.
Delivery date first — Sorts by delivery date (descending), then asset.
-
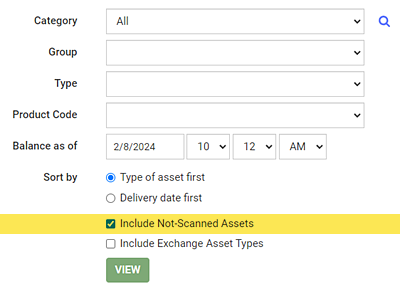
Check Include Not-Scanned Assets to include not-scanned assets in the report (default). Uncheck to not include not-scanned assets.
-
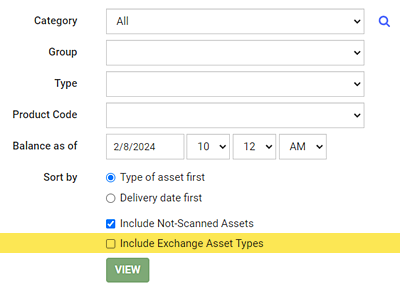
Check Include Exchange Asset Types to include exchange asset types in the report. Uncheck to not include them (default).
-
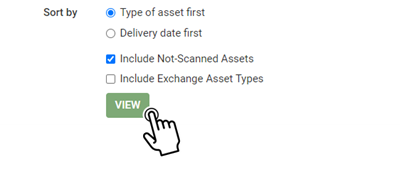
Click VIEW to generate the report.
Reading the Asset List Report
NOTE
If your customer is logged in as a Customer Tracking Portal user, the Asset List report does not show Not Scanned Assets, since it is assumed they are mainly concerned with the Type and Quantity of assets on their balance.

TIP
You can switch to the customer’s Asset Balance Report by clicking on the Switch to Asset Balance Report in the upper right of the report.
Hist — Click View to see the asset’s history. Only available for scanned (tracked) assets.
Delivered — The date the asset(s) were delivered to the customer. Click the date to see details of the delivery on the Delivery Action Summary View.
Delivered on Invoice (PO#) — The invoice / purchase order number for the delivery.
Days Held — The number of days the customer has held the asset(s).
Category — The Category the assets belong to.
Group — The Group the assets belong to.
Type — The Type of the assets.
Product Code — The asset’s Product Code.
Description — The description of the asset(s).
Ownership — The owner of the assets.
Barcode — For scanned assets, displays the asset’s barcode. For not-scanned assets, displays the number of assets.
Serial Number — The asset’s serial number, if set. (For scanned assets only.)
Lot Number — The asset’s lot number, if available.
Expiration Date — The expiration date of the product in the asset. (For scanned assets only.)
Count — The total number of assets under the specified Product Code.
