Customer Tracking Portal: Setting Up TrackAbout Access for Your Customers
By default, your customers and their users don’t automatically have access to TrackAbout even after the Customer Tracking Portal module is enabled by TrackAbout Support.
Each customer must be granted explicit permission to access TrackAbout, as well as have users created and configured to let them log in and interact with TrackAbout through the web and through their mobile devices. Just like your internal TrackAbout users, you decide what each customer user is allowed to do with TrackAbout.
NOTE
TrackAbout Mobile 7 customers users can directly download the app to their smart device and log in for themselves with no extra steps required of you.
Giving a Customer Access to TrackAbout
To give a customer access to TrackAbout Customer Tracking Portal module features:
-
Log in to TrackAbout Web.
-
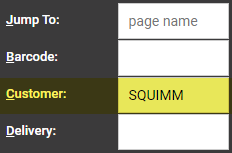
Enter the customer’s name, partial name, or number in the Customer quick-search field, or go to Customers w Customer Search to find the customer’s account.
-
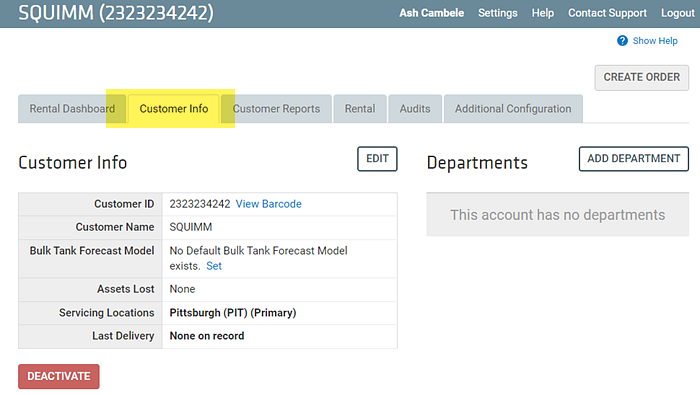
On the customer page, select the Customer Info tab.
-
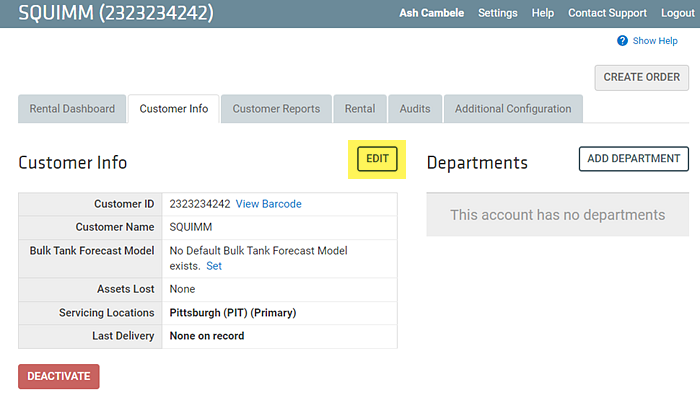
Click EDIT.
-
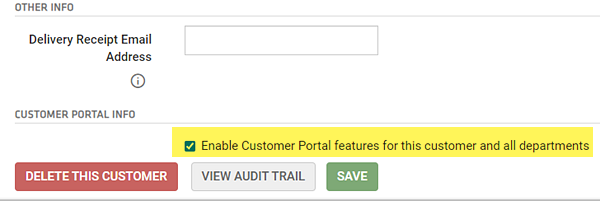
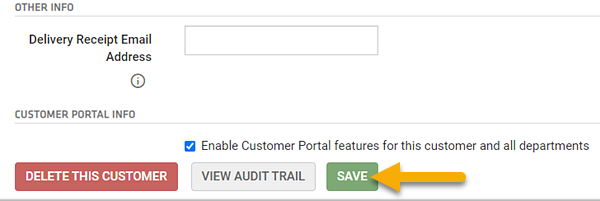
On the Edit Customer page, scroll to the Customer Portal Info section at the bottom and check Enable Customer Portal features for this customer.
-
Click SAVE.
-
This opens a three step confirmation and configuration process:
-
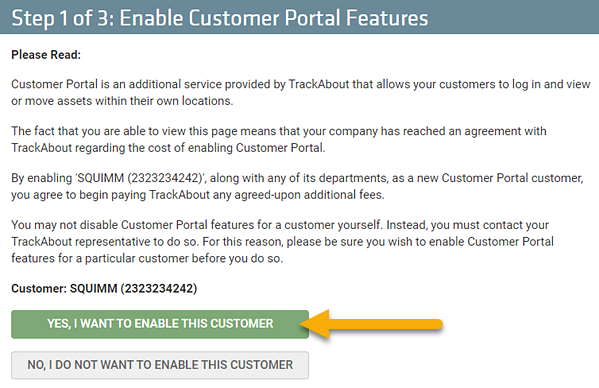
In the first step, confirm that you are enabling Customer Portal features for this customer by clicking YES, I WANT TO ENABLE THIS CUSTOMER.
NOTE
While you can grant TrackAbout access to a customer yourself, if you need to revoke TrackAbout access from a customer you must contact TrackAbout Support.
-
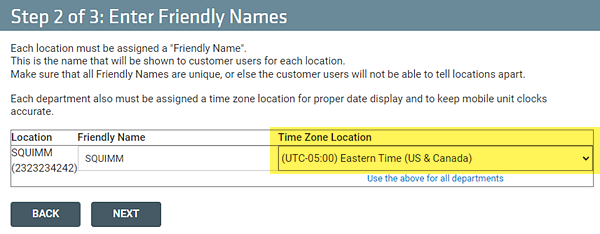
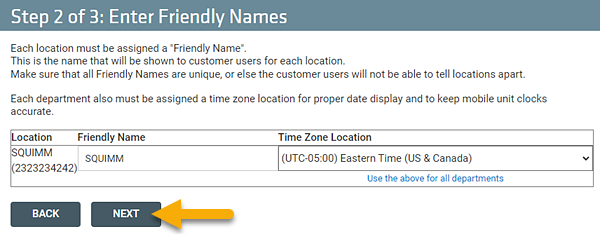
In Step 2, enter a Friendly Name. This is the name shown to the customer for the location. It should be meaningful to the customer. If they have multiple locations, each should get a name that is identifiable to the customer.

Next, select the time zone of the location(s) using the Time Zone Location drop-down.
If the customer has departments, you can click Use the above for all departments to use the selected time zone for all of them.
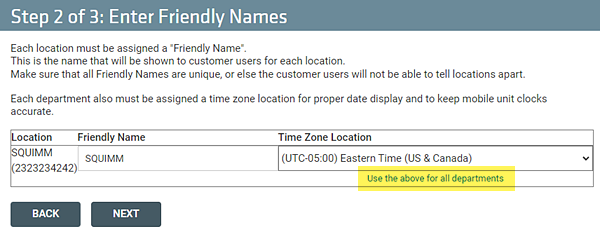
Click NEXT to continue to Step 3.
-
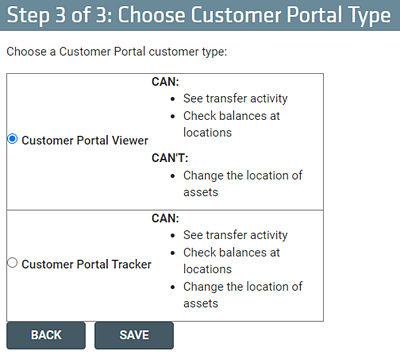
In Step 3, select what the customer can do with TrackAbout by choosing their Type.
NOTE
Changing a customer’s type after they’ve been set up can only be done by TrackAbout Support. If you anticipate a “viewer” customer may some day become a “tracker”, consider making them a tracker from the start.
By default, customers can see their transfer activity and check balances at their locations (Customer Portal Viewer type).
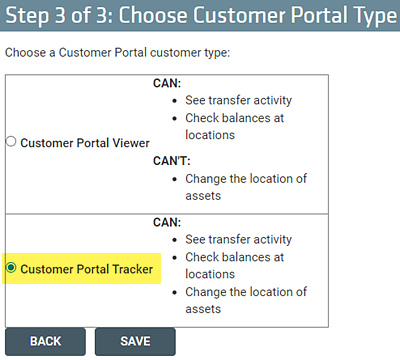
To let customer change the location of assets between their internal locations, as well as see transfer activity and check balances at locations, select the Customer Portal Tracker type.
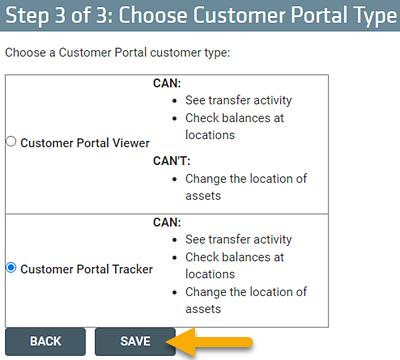
Once you’ve selected a type, click SAVE.
-
Create Customer Portal User Accounts
After a customer has been given access to TrackAbout you can create TrackAbout user accounts for each individual that will be logging into TrackAbout on behalf of the customer.
To create a TrackAbout user account for a customer:
-
Log in to TrackAbout Web.
-
Enter the customer’s name, partial name, or number in the Customer quick-search field, or go to Customers w Customer Search to find the customer’s account.

-
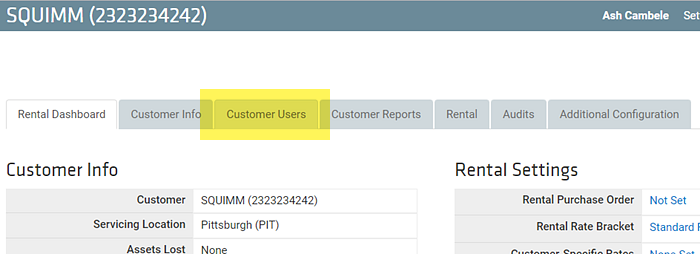
Click the Customer Users tab.
-
On the Customer Users tab, click ADD NEW USER.

-
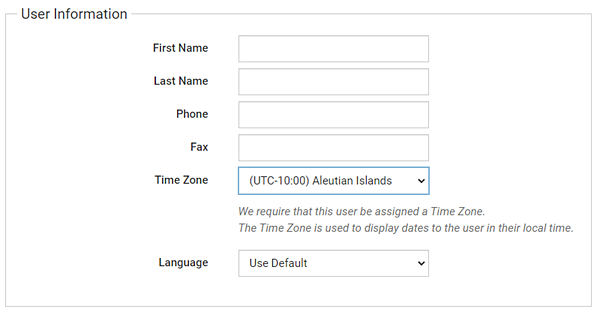
In the User Information section on the Add New Customer User page, enter the user’s first name, last name, phone number (optional), and fax number (optional), then select the user’s time zone and default language.
-
In the Access section, select which TrackAbout services the user can log into. Select all that apply.

-
Website — The user can log in to TrackAbout Web. Checking this opens the Website and TAMobile 7 (Android/iOS app) section to set the user’s login name and password. Note: Requires an email address.
-
TAMobile 7 (Android/iOS app) — The user can log in to the TrackAbout Mobile 7 app on iOS or Android smart devices. Checking this opens the Website and TAMobile 7 (Android/iOS app) section to set the user’s login name and password. Note: Requires an email address.
-
-
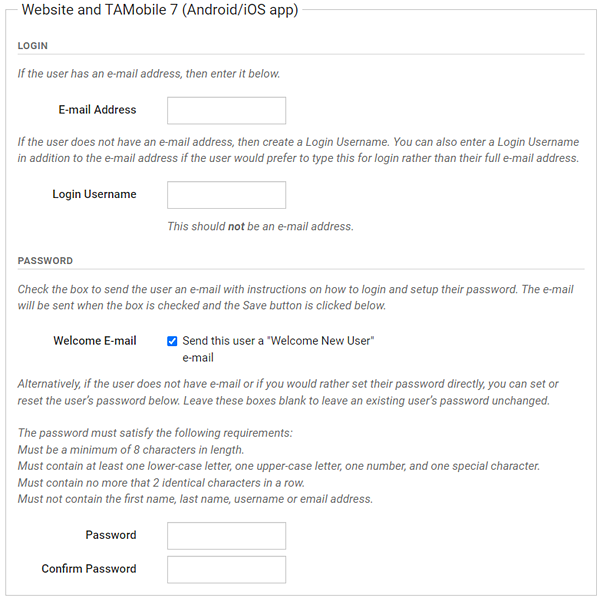
If the user is authorized to access either TrackAbout Web or TrackAbout Mobile 7 on iOS or Android smart devices, configure the credentials they’ll use to log in.
-
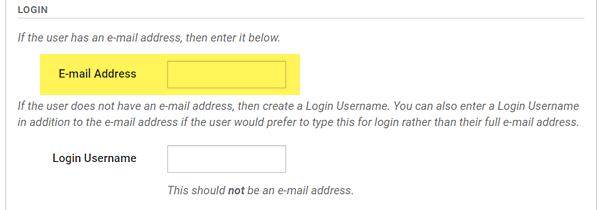
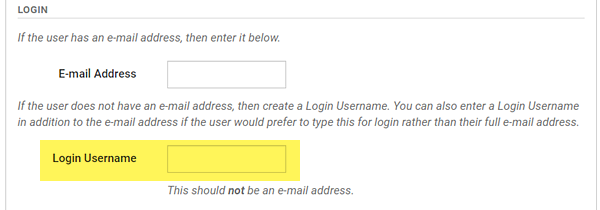
If the user has an e-mail address, enter it in the E-mail Address field.
-
If the user does not have an e-mail address, or wants to enter a username instead of their email address to login, enter a username in the Login Username field.
-
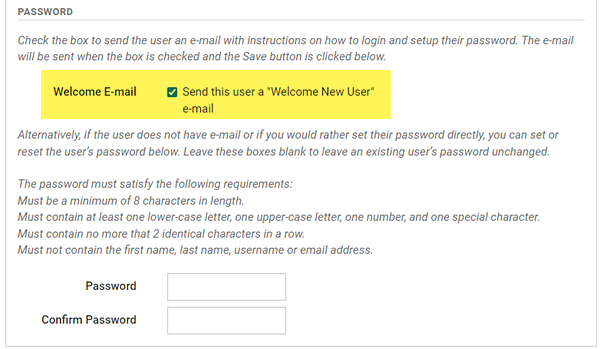
Check Welcome E-Mail to send the user an email with instructions on how to login and setup their password after you finish setting up the account. Note: The user must have an email address.
-
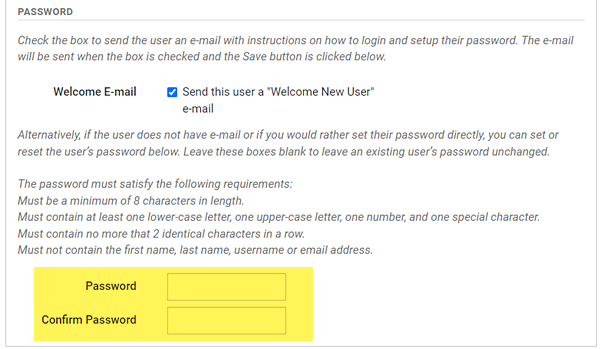
If the user does not have an email address or you want to set their password for them, enter one in the Password and Confirm Password fields.
TIP
The password must be a minimum of 8 characters long, contain at least one lower-case letter, one upper-case letter, one number, and one special character. It must contain no more than two identical characters in a row. It must not contain the user user’s first name, last name, username, or email address.
-
If the user is allowed to login to TrackAbout Web, select what role(s) and permissions they have. Under WEBSITE In the Roles and Permissions section, check all that apply.

-
Follow-On Admin — The user can manage their own locations and users, as well as view asset data through TrackAbout Web.
-
Follow-On User — The user can only view asset information in TrackAbout Web but cannot manage locations and users
-
-
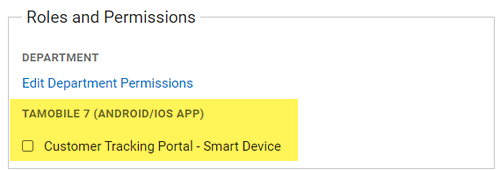
If the user will be using TrackAbout Mobile 7 on an iOS or Android device, select the mobile role they’ll use by checking it.
-
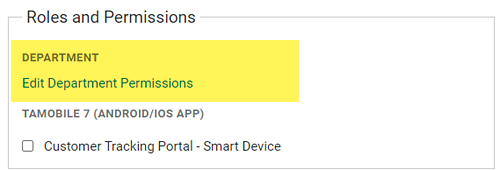
Under Department in the Roles and Permissions section, click Edit Department Permissions to give the user access to the customer’s departments.
NOTE
You must complete this step, otherwise the customer user will not be able to see any asset data.
-
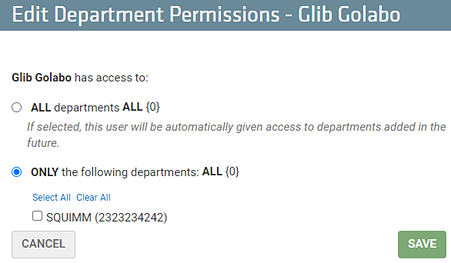
On the Edit Department Permissions page:
-
Click ALL to give the user access to all the customer’s department asset data.
-
Click ONLY and select individual departments to give the user access to the asset data for the selected departments only.
-
-
Click SAVE to return to the Edit Customer User page.
-
-
Click SAVE CHANGES to finish creating the new customer user.
