Create Order: Customer Order
Create Order lets you use your mobile device to create a new order for a customer delivery and/or pickup. You can include scanned and non-scanned products in the order.
NOTE
These instructions are for the base version of TrackAbout Mobile 7. Because TrackAbout Mobile 7 is highly customizable, the screens and prompts you see may differ from those shown here.
To create a customer delivery order:
Tap Create Order to begin.
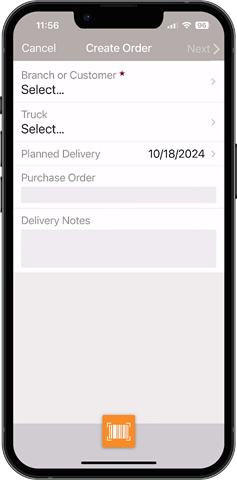
Tap  to scan a Customer ID barcode, or tap Branch or Customer.
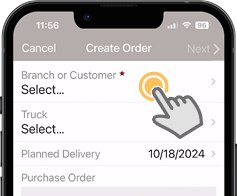
Select the customer the order is for. (Select an internal location/branch to create a branch transfer instead of a customer order.)
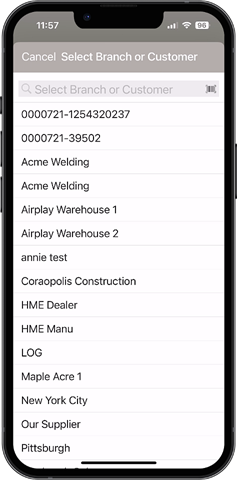
 — Tap to search for a customer. Search results are displayed automatically once you enter at least two characters.
 — Tap to scan a Customer ID barcode.
Once you select a customer, you’ll return to the Create Order screen.
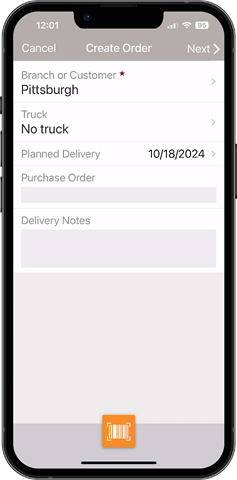
Fill in the requested information.
Truck — Tap to select a truck.
Planned Delivery — Tap to change the pre-selected delivery date.
Purchase Order — Tap and enter a PO number. (This field may be optional, required, or not visible depending on configuration.)
Delivery Notes — Tap and enter any delivery notes.
NEXT — Tap to continue.
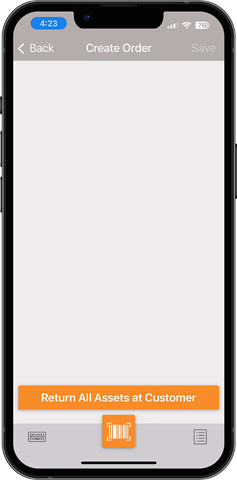
Add items to the order.
Tap a listed Product Code to adjust quantities or remove the item.
Return All Assets at Customer — Adds all assets at the customer location as returns. (This field may not be visible depending on configuration.)
 — Manually add items to the order by keying in a tracking number or serial code to get a product code.
 — Scan a tracking number or serial code to get a product code with your device's camera.
 — Tap to display additional options.
Add Product — Manually add a line item by entering a product code.
Cancel — Close the menu.
SAVE — Create the order in TrackAbout and exit.
Manually Add Items to the Order
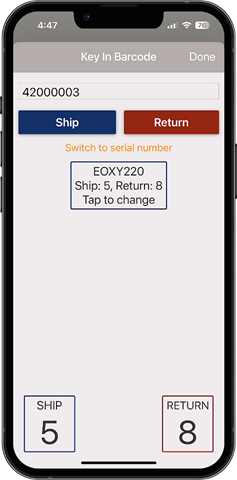
Add assets to the order by keying in their tracking code or serial number to get a product code and then manually adjust the number of items with that product code to ship.
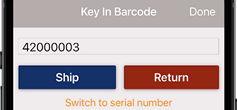
Barcode / Serial Number — Manually key in a tracking code or serial number.
Ship — Gets the product code of the asset referenced by the tracking code or serial number you manually entered and adds one to the order.
Return — Gets the product code of the asset referenced by the tracking code or serial number you manually entered and adds one as a return.
Switch to Serial Number / Switch Back to Barcode — Switches between barcode and serial number entry.
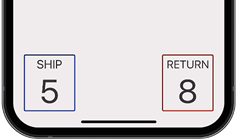
Tap the box to adjust the number of assets with the specified product code to add or return.

The running total of ships and returns are shown at the bottom of the screen.
Tap DONE to return to the Create Order screen.
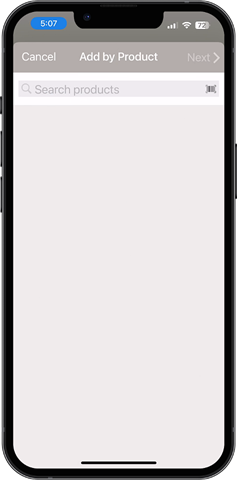
Search for a product code to add deliveries and returns of that product.
 — Tap to search for a product code. Search results are displayed automatically once you enter at least two characters.
 — Tap to open the scanner to get a product code by scanning an asset's barcode.
Tap a product code to select it, then tap NEXT to enter quantities.
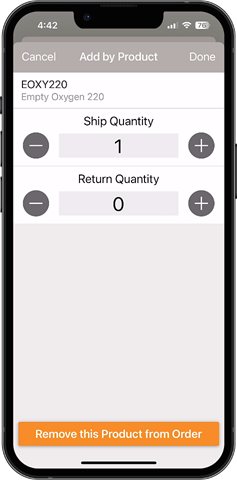
Adjust the number of assets of the selected Product Code being added to the order as deliveries or returns.
Ship Quantity — The number of assets being ordered. Tap to key in a quantity, or tap ![]() and
and ![]() to adjust the number up and down.
to adjust the number up and down.
Return Quantity — The number of assets expected to be returned. Tap to key in a quantity, or tap ![]() and
and ![]() to adjust the number up and down.
to adjust the number up and down.
Remove this Product from Order — Remove all of this product from the order.
DONE — Add the quantities as entered and return to the Add Items screen.
