How To: Deliver/Service
This how-to walks you through using Deliver/Service.
TIP
Use Deliver/Service during a delivery or service call to:
-
See the individual customer orders in the trip.
-
See any delivery or service notes concerning each order.
-
See the products, equipment, and services to be delivered (or returned) as part of the order.
-
Add additional products, equipment, and services to an order while at the customer location.
-
Record how many products or equipment were actually delivered or returned.
-
Record notes about the delivery or service.
-
Take pictures during delivery or service to include in the delivery record.
-
Take and record customer payments in cash or by check.
-
Collect a customer signature acknowledging delivery or service.
NOTE
This how-to is also available online at:
https://supportkb.trackabout.com/Content/Source/a/SD-Walkthrough-Delivery.htm
1
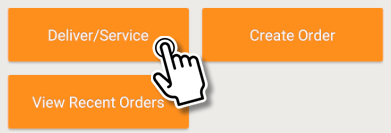
Tap Deliver/Service to begin.
2
NOTE
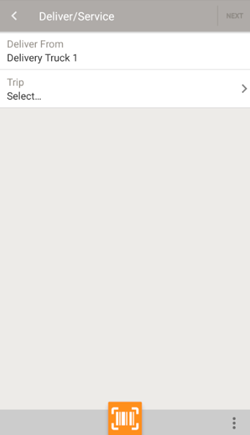
On the first screen, Deliver From should be automatically selected for you.
-
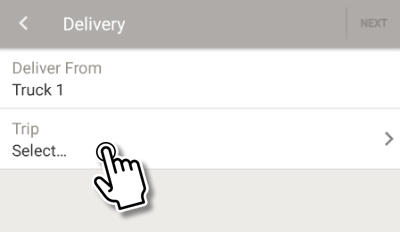
Tap Trip to select a trip.
-
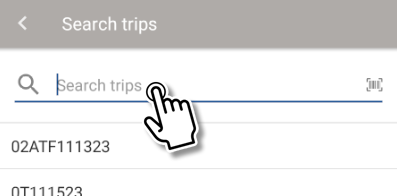
Tap a trip in the list, or tap
 to search for a trip to select.
3
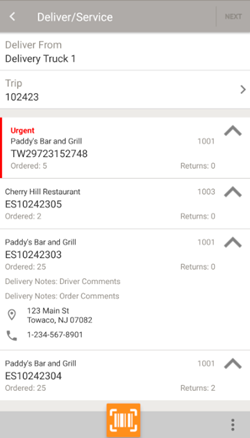
Selecting a trip displays summaries of all the orders in the trip.
NOTE
Priority orders are noted in red.
TIP
In addition to the priority of the order, each order summary includes the customer name, order number, and notes specific to the order.

The summary can also be expanded to display the items in the order by tapping  . (Tap
  to collapse the display back to summary form.)
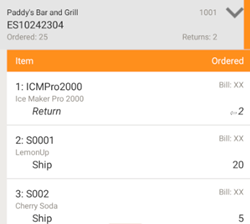
Item — The product, equipment, and services in the order, by code and name.
Ordered — The quantity of the item to deliver or return.
Ship — The quantity of the item ordered.
Return — The quantity of the item to return from the customer. Usually applies only to equipment.
-
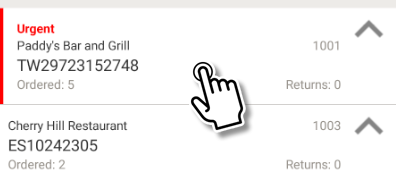
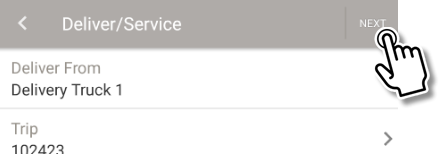
Tap an order to select it.
-
Tap NEXT to continue.
4
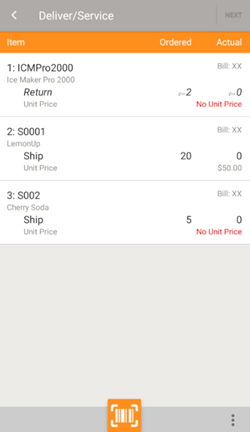
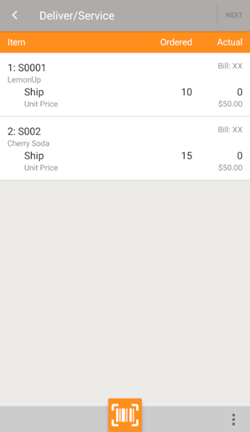
The next screen shows you the equipment, product and service items in the order.
TIP
Item — The equipment, products, or services in the order, by code and name.
Ordered — The number of the item ordered.
Actual — The number of an item delivered, or service provided.
Ship — The quantity of the item ordered.
Return — The quantity of the item to return from the customer.
Unit Price — The price-per-unit of the item, if any.
You can access additional options by tapping  . Additional options include:
Delivery photo Attach pictures to the delivery record.
Add notes Add a driver note to the delivery.
View Order Notes View the notes attached to the order.
View Payment Notes View any payment notes on the order, if available.
Add line item Add a line item to the delivery.
5
Record the product and equipment you're delivering, and the services you're performing at the customer site.
-
To record product delivery, tap
 to begin (Step 6 - Product).
 -
To record equipment delivery (or return), tap the equipment to begin (Step 6 - Equipment).
-
To record services performed, tap a service to begin (Step 6 - Services).
-
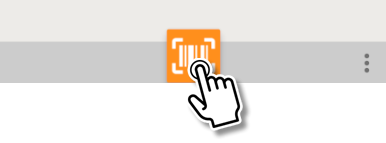
Tap
 to begin scanning.
-
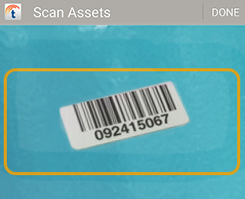
Scan the barcode containing the product's lot number. This registers one of that particular product as delivered.
NOTE
Scanning a product's lot number barcode adds one to the number of that product delivered. For example, scanning the same lot number five times registers five of that product delivered.
-
Continue scanning lot number barcodes until the correct amount is registered.
-
Tap DONE when finished scanning barcodes.

-
If the equipment has a tracking code barcode, tap
 to begin scanning.
Scan the barcode containing the equipment's tracking code. This registers one of that piece of equipment delivered or returned.

Tap DONE when finished scanning barcodes.

-
If the equipment does not have a tracking code barcode, tap the piece of equipment to select it.
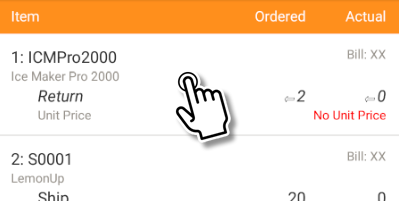
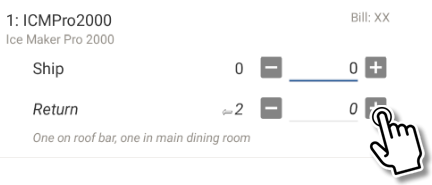
Record the quantity of the item being delivered or returned.
TIP
Item — The product code and name of the item.
Ordered — The number of the item ordered for delivery (indicated by Ship) or return (indicated by Return).
Actual — The number of the item you have delivered or returned.
 — Increase the Actual number by one.
 — Decrease the Actual number by one.
Tap until the Actual number matches the amount of the item you are delivering (Ship) or returning (Return).
NOTE
If the Actual number does not match the Ordered number, you will be prompted to explain why later.
Tap DONE when finished.
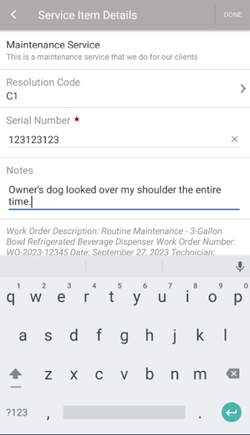
For each service item in the order you'll need to select a resolution code, and optionally enter notes about the service.
-
Tap a service item to select it and open the Service Item Details screen.
-
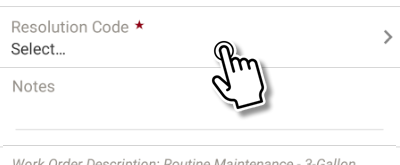
Tap Resolution Code to display the list of codes available for selection.
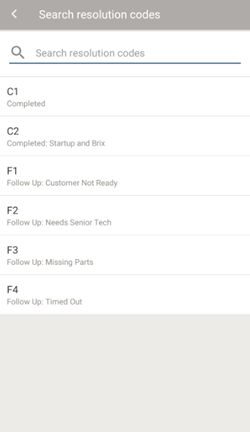
-
Tap a resolution code to select it and return to the service item screen.
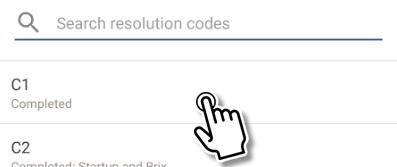
-
Optionally, add a note by tapping Notes.
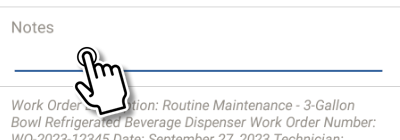
Enter a note using the on-screen keyboard, or tap
 to use voice-to-text.
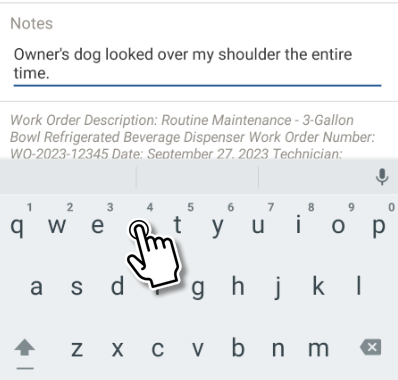
-
Tap DONE to return to the order item list.

7
When you are done recording all shipped and returned items, tap NEXT to continue.

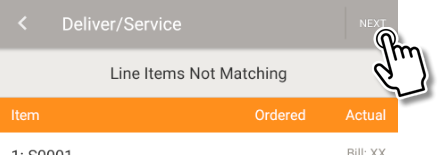
If the Actual number is different from the Ordered number for any items, you are prompted to provide a reason for the mismatch, by item.
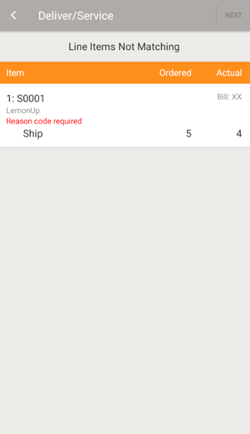
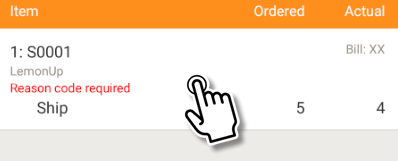
-
Tap an item to select it.
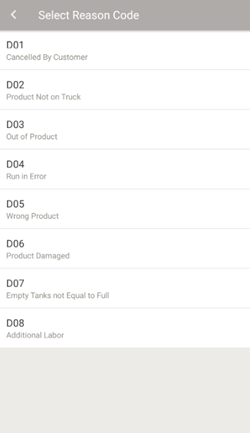
-
You are presented with a list of possible reasons for the mismatch.
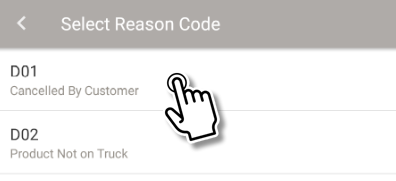
-
Tap a reason code to select it.
-
After you have provided a reason for all mismatches, tap NEXT to continue.
9
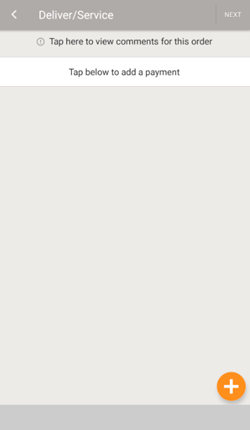
Next, enter payment details if you are collecting payment at the time of delivery.
NOTE
If you are not collecting payment, tap NEXT to skip this step.
TIP
You'll see a note if there are special payment notes for this order.

Tap the note to see the special payment notes:
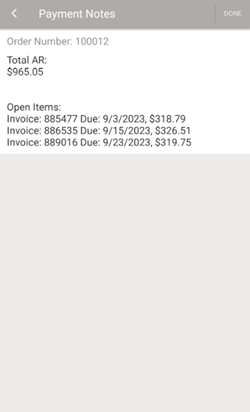
Tap DONE to return to the previous screen.
-
Tap
 to add a payment.

-
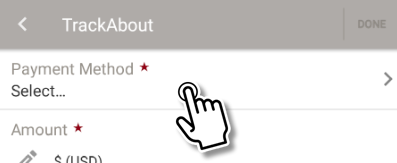
Tap Payment Method.
-
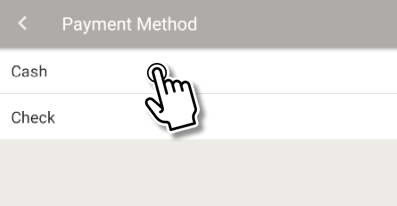
Tap Cash or Check, depending on how the customer is paying.
-
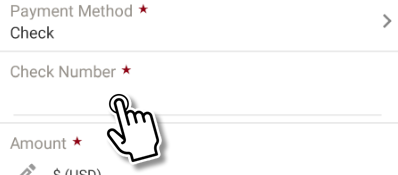
If you've selected Check, tap the Check Number field and enter the check number using the on-screen keyboard.
-
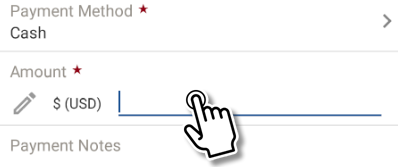
Tap the Amount field.
-
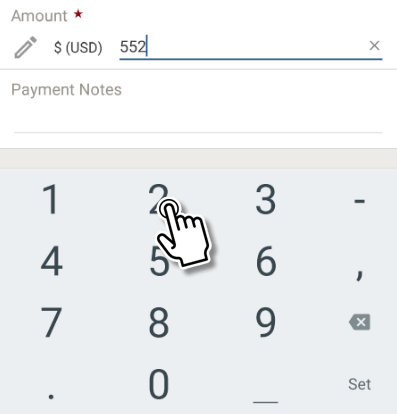
Enter the amount you're collecting using the on-screen keyboard.
-
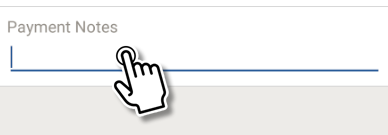
Optionally, tap Payment Notes and enter a note using the on-screen keyboard.
-
Tap DONE to return to the Add a Payment screen.

10
Once you've added all payments, tap NEXT to continue.

TIP
Tap and hold a payment to edit it.
Take or add up to five pictures of the delivery.
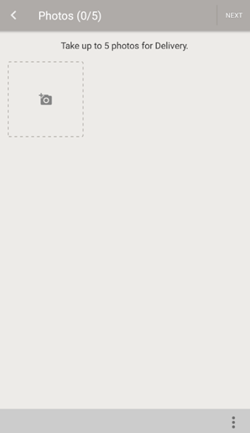
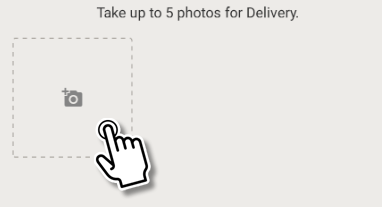
To take a picture with your smart phone camera:
-
Tap
 .
. 
-
Use your smart phone's camera to take a picture.
-
Approve the picture.
To add a picture from your smart phone's image library:
-
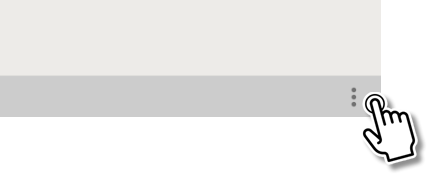
Tap
 .
.
-
Tap Pick Existing Photo to add a picture saved on your smart phone. (Varies by device.)

Tap NEXT when you are finished adding photos.

12
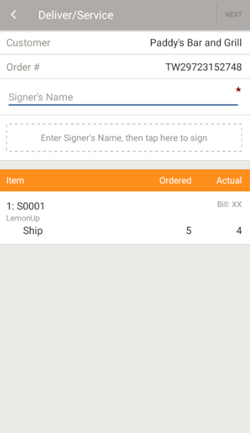
Next, you are prompted to get the customer's sign-off that delivery has been made.
-
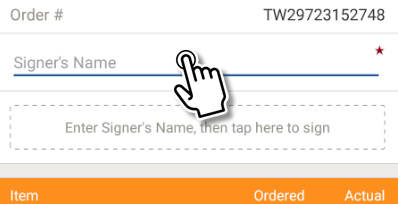
Tap the Signer's Name field.
-
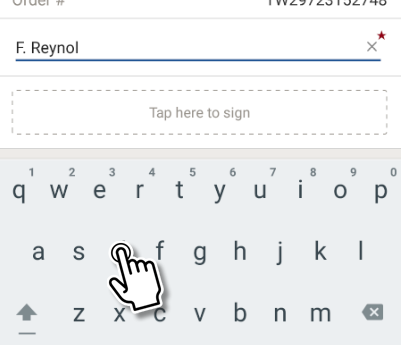
Enter the name of the person signing for the delivery using the on-screen keyboard.
-
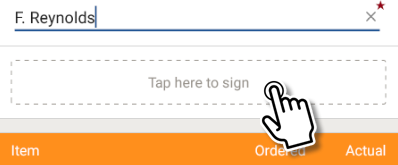
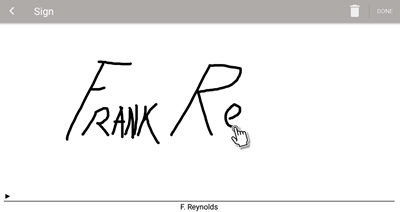
Tap Tap here to sign to open the signing screen.
-
Present your smart phone to the customer so they can sign.
-
Tap NEXT to continue.

13
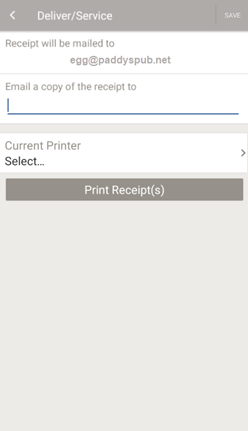
The last step is to email and print out copies of the receipt.
-
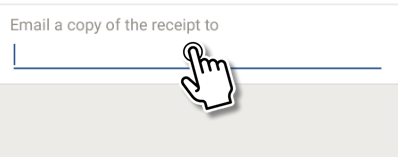
Receipt copies will be sent to the recipients listed under Receipt will be mailed to. To send the receipt to additional recipients, tap Email a copy of the receipt to.
Use the on-screen keyboard to enter one or more additional email address (separated by commas).
-
If you have a printer attached to your smart phone, you can print a copy of the receipt for the customer.

Tap Print Receipt.
-
Tap SAVE when finished entering additional addresses. This emails copies of the receipt to the listed addresses, saves the delivery record, and closes Deliver/Service.

Add an Item to an Order
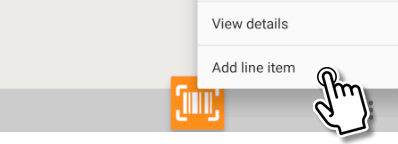
Line items can be added to the current delivery from the Order Item screen.
-
Tap
 to open the additional options menu.
-
Tap Add line item.
-
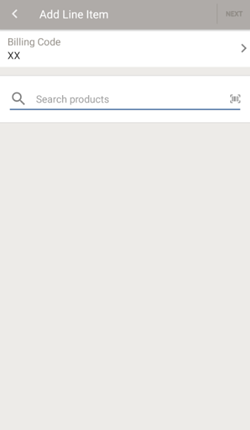
This opens the Add Line Item screen.
-
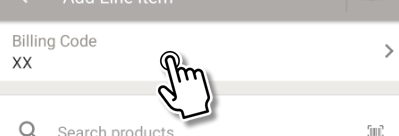
Tap Billing Code.
-
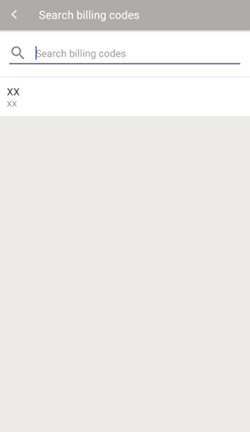
If the billing code you need is the automatically selected one, search for it by tapping
 and entering a partial or full code name.
-
Tap the code to select it.

-
Next, select a product, piece of equipment, or service. Tap
 (Search products).
-
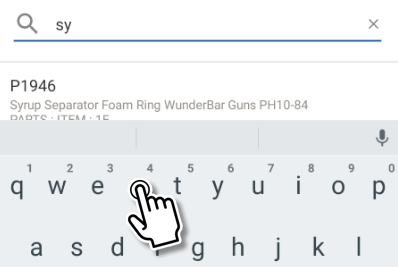
Enter the item's name using the on-screen keyboard or speech-to-text. Matching items are listed as you type.
-
Tap an item to select it.

-
Tap NEXT to continue.

-
Tap
 to note how many of the item are being added as either delivered (Ship) or returned (Return).
NOTE
The option to return an item is only available for equipment.
-
Tap DONE to finish.

View Order Notes
The option to view order notes is available in the additional options menu on the Order Item screen.

-
Tap
 to open the additional options menu.
-
Tap View order notes.
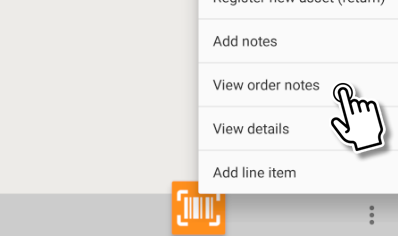
This displays any notes associated with the order.
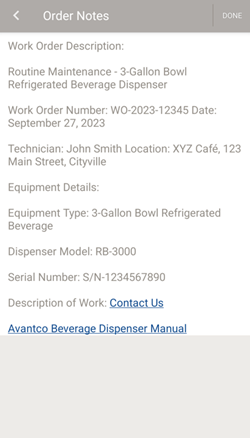
TIP
Tap a link to open it in your smart phone's default web browser.
-
Tap DONE when finished.

View Payment Notes
The option to view payment notes is available in the additional options menu on the Order Item screen.

-
Tap
 to open the additional options menu.
-
Tap View order notes.
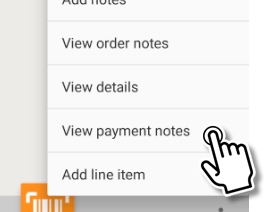
This displays any payment notes associated with the order.

-
Tap DONE when finished.

Pre-cancel an Order
The option to pre-cancel an order during a delivery is available in the additional options menu on the Order screen.
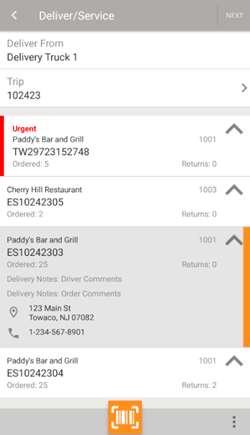
-
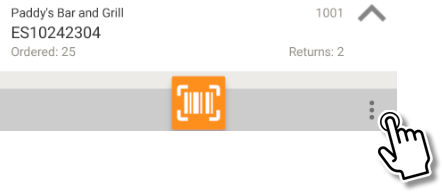
Tap
 to open the additional options menu.
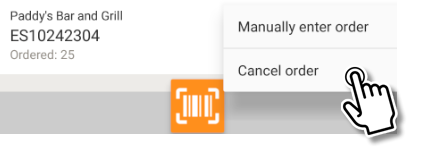
-
Tap Cancel order.
-
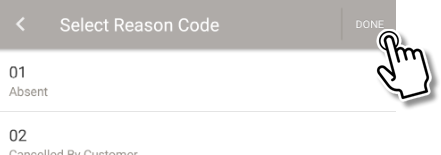
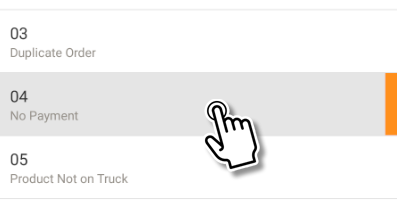
This screen lists the cancel codes available for selection.
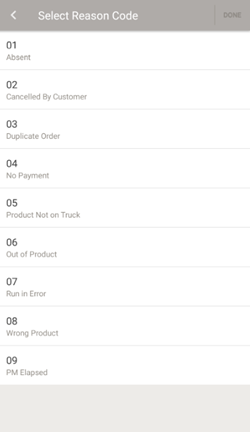
-
Tap a code to select it.
-
Tap DONE to finish
