Customer Portal — Client Administration Guide
TrackAbout’s Customer Portal (aka Customer Tracking Portal) lets TrackAbout clients share tracking and delivery information with their customers. This guide is intended to help TrackAbout Administrators setup and manage their customer’s TrackAbout access.
When you give a customer access to TrackAbout, what information are they allowed to see?
Your customers are able to see information about the assets they have at their location and their transfer history and proof-of-delivery records. They can only access information for assets held at their location, not assets rented by other customers.
How to Give Your Customer Access to TrackAbout’s Customer Tracking Portal
TIP
The customer must already be in TrackAbout as one of your customers. If they aren’t, add them as a customer first.
-
Find the customer you’re giving Customer Tracking Portal access to by using Customer Search.
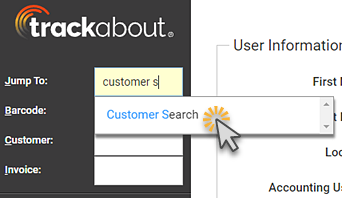
Select Customers > Customer Search from the navigation menu or type “Customer Search” in the Jump To box.
Search for the customer you are giving access to.
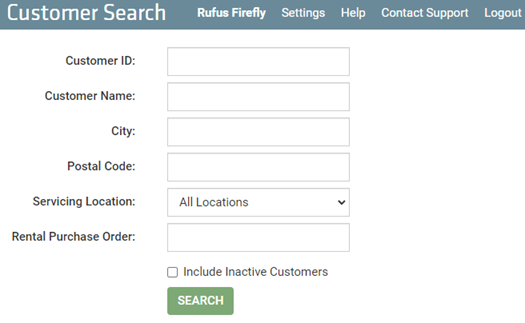
Click VIEW to select the customer and open their Customer Profile.
The customer must be a top-level customer — not a child/department.

-
On the Customer Profile, click the Customer Info tab.
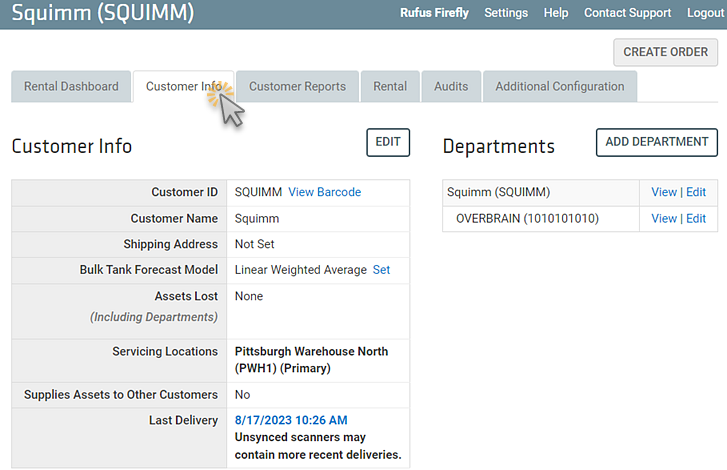
Click EDIT.

-
This opens the customer’s profile.
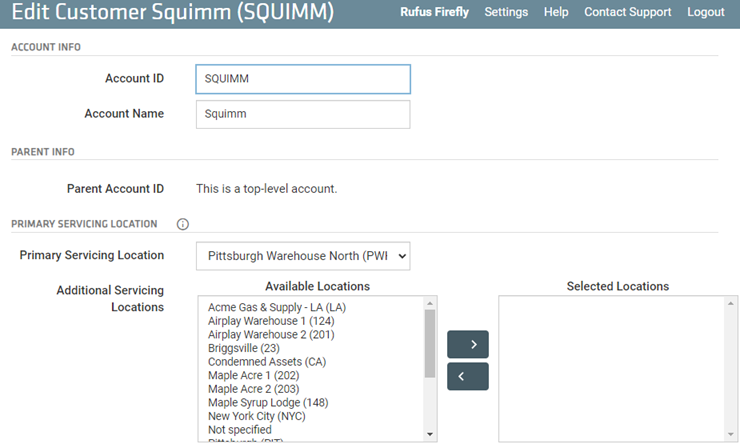
Scroll to the end of the page and check Enable Customer Portal features for this customer and all departments.

Departments are separate ship-to locations that belong to that parent customer (i.e. the Sold-To party).
Example: Arkham Polytechnic is a customer with account number 0001001183. They have 3 different ship-to locations within the university with account numbers 0001001183-1, -2, and -3, respectively.
Click SAVE.

-
Next, you’ll be prompted to verify that you want to give this customer access to TrackAbout and their data in it.
Once the feature is enabled, it can only be turned off by TrackAbout Support.
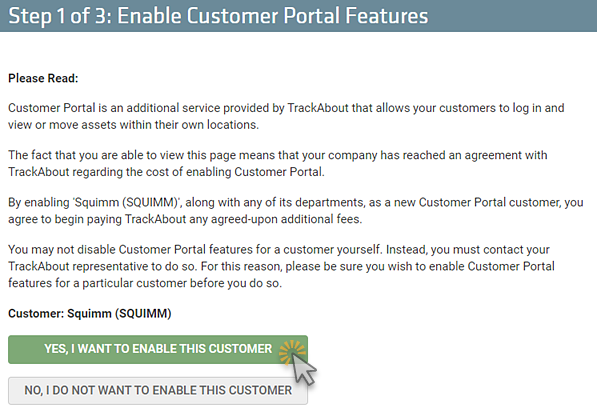
Click YES, I WANT TO ENABLE THIS CUSTOMER to continue.
-
Next, you’re prompted to enter nicknames and time zones for the customer’s location(s).
Enter nicknames for the location(s) in the Friendly Name field.
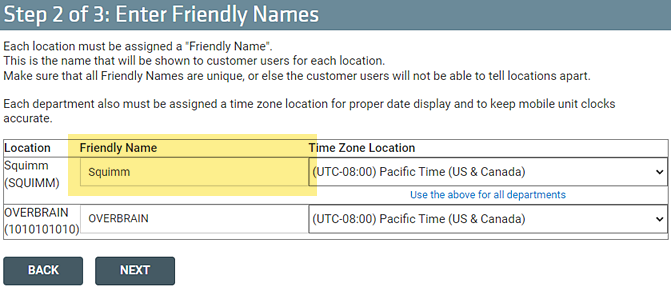
Select the time zone for each location from the Time Zone Location drop-down.
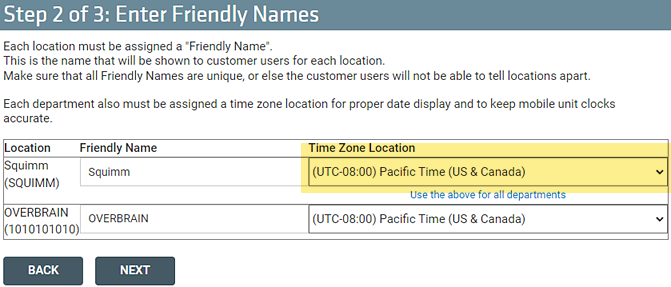
To use the main location’s Time Zone for all of the customer’s departments, click Use the above for all departments.
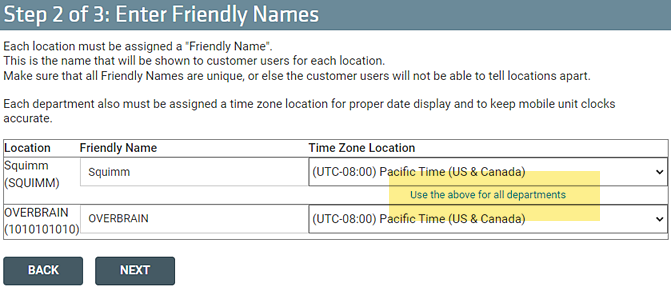
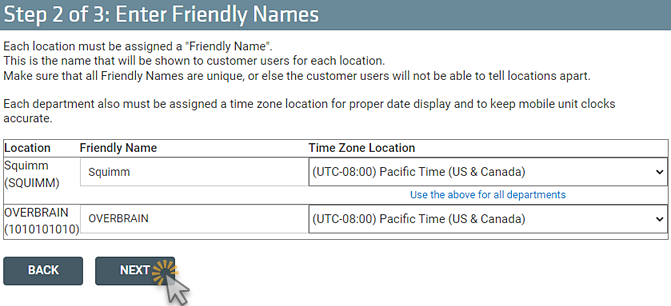
Click NEXT to continue.
-
Next, you’re prompted to select what your customer can do in TrackAbout.
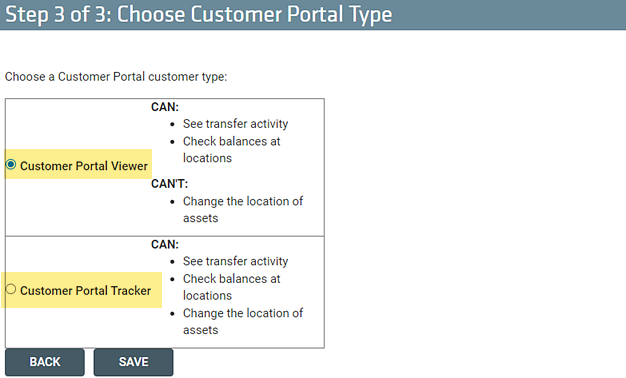
Select Customer Portal Viewer to let your customer use TrackAbout to view transfer activity and check balances at their location(s). They will not be able to change the location of assets.
If the customer could ever potentially need to be a tracker in the future, choose Customer Portal Tracker — this setting can’t be changed later without help from TrackAbout Support.
Select Customer Portal Tracker to let your customer use TrackAbout to view transfer activity, check balances at their location(s), and change the location of assets.
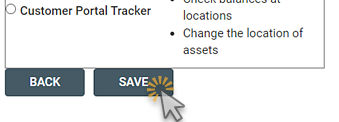
Click SAVE to continue.
-
-
You’re returned to the Customer’s Profile. Click the Customer Users tab, where you can add and manage the individual TrackAbout user accounts your customer will use.

How to Create a TrackAbout User Account for Your Customer
-
Go to the customer’s profile by entering their name in the Customer Jump To box, or find the customer you’re creating TrackAbout User Accounts for by using Customer Search.
Select Customers > Customer Search from the navigation menu or type “Customer Search” in the Jump To box.

Search for the customer.

Click VIEW to select the customer and open their Customer Profile.

-
Click the Customer Users tab.

-
Click ADD NEW USER.

-
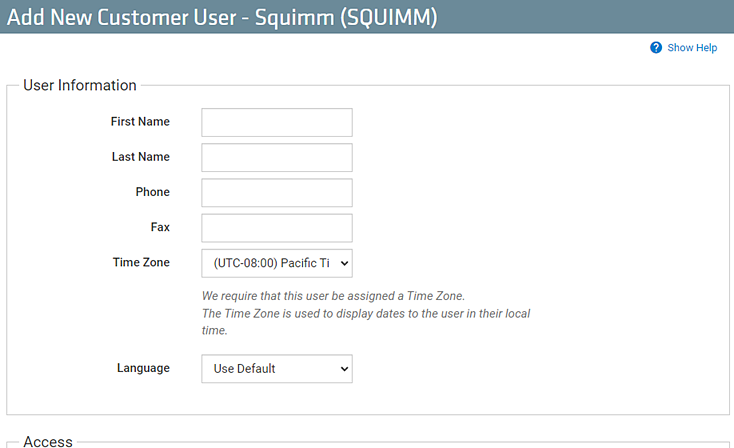
Enter the customer user’s First Name, Last Name, Phone number, and Fax number as required, and select a Time Zone and Language.
-
Select how the user will access TrackAbout.

Website — Users can access through TrackAbout Web.
TAMobile 7 — Users can access using the TrackAbout Mobile app on Android and iOS. (Only available if the customer is a Customer Portal Tracker.)
-
Select the user’s roles and permissions.
You may have different roles and permissions than those shown here depending on custom configuration.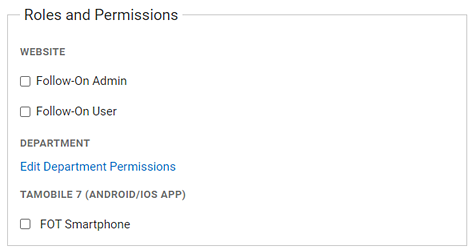
WEBSITE
Follow-On Admin — Check to give the user access to administrative options in TrackAbout Web, such as the ability to manage their own users and edit their own locations.
Follow-On User — Check to give the user non-administrative access to TrackAbout Web, letting them view transfer activity, check balances at their locations, and, if the customer’s users are Customer Portal Trackers, change the location of assets.
DEPARTMENT
Edit Department Permissions — Set which departments the user has access to in TrackAbout.
Setting department permissions is required. If not set, the user will be able to log in but have no access to any locations.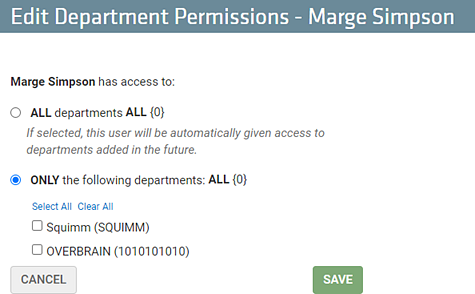
TAMOBILE 7 (ANDROID/IOS APP)
-
Click SAVE NEW USER to create the new user.

How to View Your Customer’s Users
-
Go to the customer’s profile by entering their name in the Customer Jump To box, or find the customer you’re creating TrackAbout User Accounts for by using Customer Search.
Select Customers > Customer Search from the navigation menu or type “Customer Search” in the Jump To box.

Search for the customer.

Click VIEW on the parent account (top-level) to open their Customer Profile.

-
Click the Customer Users tab.
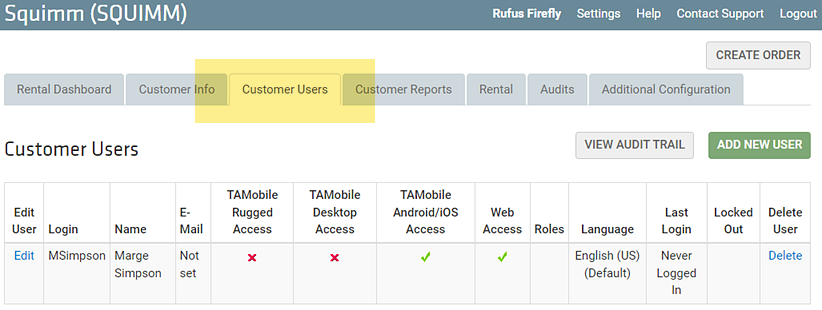
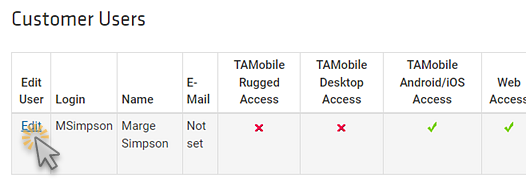
The Customer Users tab lists the customer’s users, along with details about their user account, access, roles, last login, and whether they’re locked out of their account.
Click Edit to edit the user account. Click Delete to delete the user account.
