Delivery (Simple)
Delivery lets you record customer deliveries with your mobile device.
NOTE
These instructions are for the base version of TrackAbout Mobile 7. Because TrackAbout Mobile 7 is highly customizable, the screens and prompts you see may differ from those shown here.
To use simple delivery:
Tap Delivery to start.
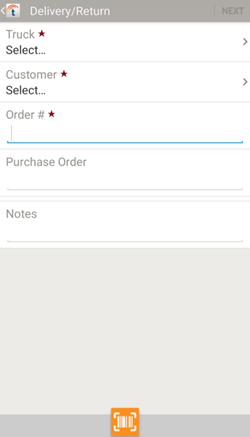
Truck — The truck you're delivering from. Tap to select.
NOTE
This option is only available if you're a driver.
Customer — The customer you're delivering to. Tap to select.
Order # — The order number. Tap to enter.
Purchase Order — The purchase order, if any. Tap to enter.
Notes — Notes, if any. Tap to enter.
 — Scan a customer, order #, or truck tag, using your device's camera.
Tap NEXT to continue.
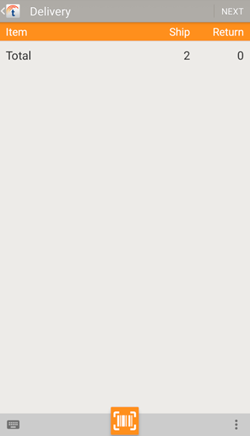
The total number of items delivered (shipped) and returned. Tap Total to see item details.
 — Manually key in a tracking tag.
 — Scan assets to register them as shipped, using your device's camera. You can scan individual assets or pallets (aka containers).
TIP
Adding Assets in Pallets / Containers — Scanning a pallet (aka container) adds the pallet (and its contents) to the delivery as either a ship or return, as selected. The pallet must be shipped/returned along with its contents.
 — Tap to display additional options.
Delivery Photo — Attach up to five pictures to the delivery record.
Register new asset (ship) — Add a new tracked asset to TrackAbout and add it to the delivery as a ship.
Register new asset (return) — Register a new asset as a return.
Add Product — Add not-scanned items to the delivery.
Common Carrier — Collect common carrier information.
Tap NEXT to continue.
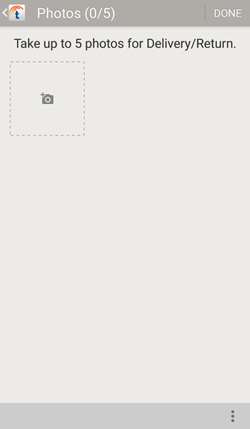
Attach up to five pictures to the delivery record, along with a date, timestamp, and GPS coordinates. Photos can be used as visual proof a delivery was made, or why it couldn’t be.
Tap  to add a new photo using your device's camera.
 — Tap to display additional options.
Pick Existing Photo Choose an image from your device.
Tap DONE to continue.
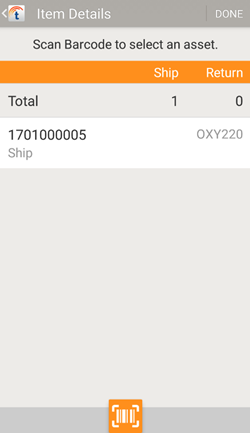
Displays the assets marked as delivered (Ship) or to be returned (Return).
Scan an item or tap it to select it. Selecting an item displays additional options:
Cancel — Take no action.
 — Remove the selected item from the delivery record.
 — Use your device's camera to scan a tracking code.
Tap DONE to continue.
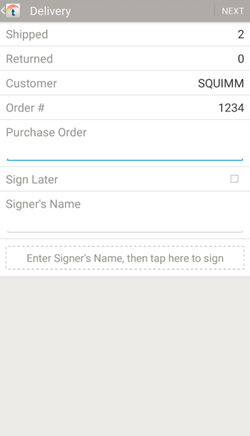
Review the delivery and get a customer signature (if required).
Shipped — The number of items shipped.
Returned — The number of items returned.
Customer — The customer name.
Order # — The order number.
Purchase Order — Tap to enter a purchase order, if any.
Sign Later — Check to collect a signature later using Collect Multiple Signatures.
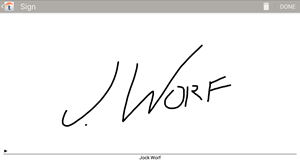
Signer's Name — Enter the name of the person signing for the selected deliveries. Tap Tap here to sign to open Sign-Off.
Tap NEXT to continue.
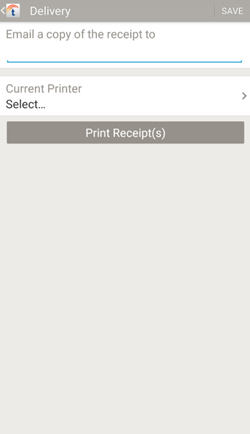
Email a copy of the receipt to — Enter one or more email addresses, separated by commas, to email the delivery receipt to when you tap SAVE.
Print Receipt(s) — Tap to print a copy of the receipt to the selected Current Printer.
NOTE
If you selected Sign Later, you'll be able to print the receipt later.
Tap SAVE to finish.
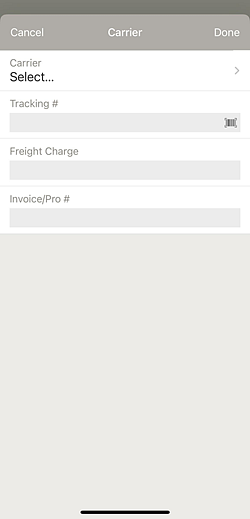
Carrier — Tap to select a carrier from the carrier list.
Tracking # — Tap to enter or scan a tracking number.
Freight Charge — Tap to enter the freight charge.
Invoice/Pro # — Tap to enter an invoice number.
Tap DONE to continue.
Register a New Asset as a Ship — Product Code
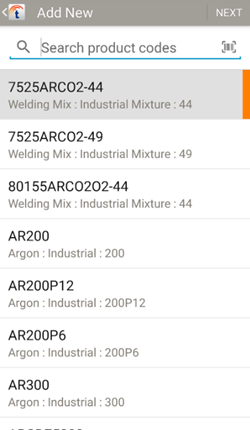
Add a new tracked asset to TrackAbout and add it to the delivery as a ship.
Select a product code for the new asset you are adding.
 — Tap to search for a product code. Search results are displayed automatically once you enter at least two characters.
 — Tap to scan a product code barcode.
Tap a product code to select it.
Tap NEXT to continue.
Register a New Asset as a Ship — Ownership
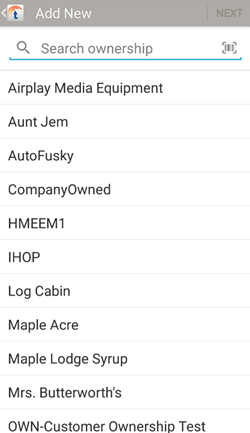
Register a New Asset as a Ship — Barcode and Serial Number
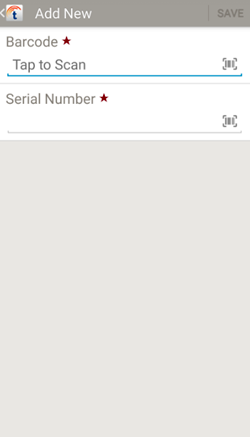
Record the new asset's tracking code (Barcode) and Serial Number.
 — Scan a tag containing a tracking code or serial number.
Tap SAVE when done.
Register a New Asset as a Return — Product Code

Add a new tracked asset to TrackAbout and add it to the delivery as a return.
Select a product code for the new asset you are adding.
 — Tap to search for a product code. Search results are displayed automatically once you enter at least two characters.
 — Tap to scan a product code barcode.
Tap a product code to select it.
Tap NEXT to continue.
Register a New Asset as a Return — Ownership

Register a New Asset as a Return — Barcode and Serial Number
