Adding Asset Classifications and Product Codes
Asset Classification in TrackAbout lets you keep track of your assets at 3 different levels: Category, Group and Type. Each individual type of asset you need to track should also get a product code. Combined, these four levels of identification give you more flexibility in looking up assets, displaying asset information, and reporting on assets or asset types.
Adding New Classifications
Now let’s walk you through creating an Asset Classification structure with categories, groups, and types that work for your business.
Add New Category
-
Go to the Asset Classifications page.
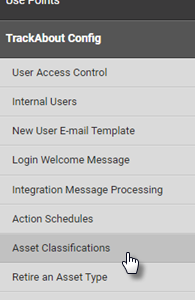
Type “Asset Classifications” in the Jump To box, or use the left menu bar to navigate to TrackAbout Config w Asset Classifications.
-
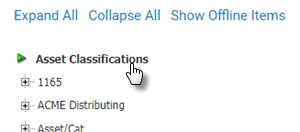
Click Asset Classifications
-
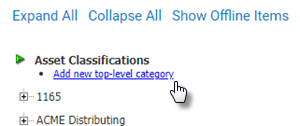
Click Add New Top-Level Category
-
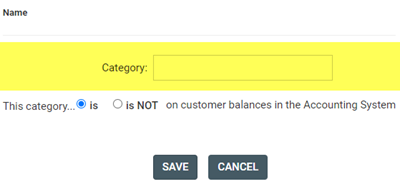
Type a name into the Category field.
NOTE
Categories are the top level of asset classification in TrackAbout. Choose a name that is related to the main component of the product (Oxygen, Nitrogen, Chlorine, etc.) or related to the main use of the product (Medical, Industrial, Cleaning, Equipment, etc.).
-
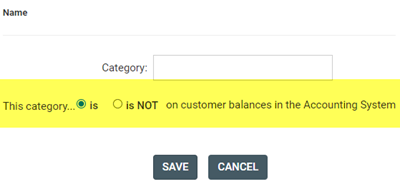
If the category is not on customer balances in your accounting system, select is NOT to the question below the Category field.
NOTE
Normally, the flag for whether or not the category is on customer balances in the Accounting System is set to "is." This flag is used for both invoice comparison (verifications) and balance import. Things which are under a category marked "is NOT on customer balances in the Accounting System" are basically ignored.
-
Click Save

Add New Group
-
Go to the Asset Classifications page.
Type “Asset Classifications” in the Jump To box, or use the left menu bar to navigate to TrackAbout ConfigwAsset Classifications.

-
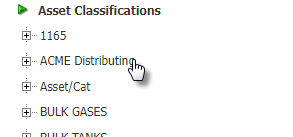
Click the Category the Group will belong to.
-
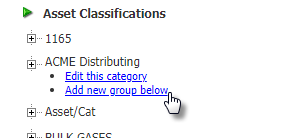
Click Add New Group Below
-
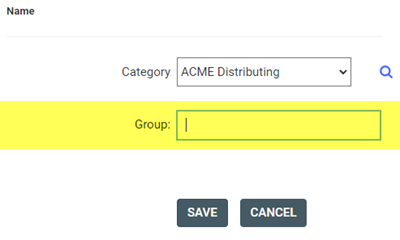
Type a name into the Group field.
NOTE
Groups are the second level of classification in TrackAbout. The name should be more narrow and descriptive than the category (such as a purity or specific mixture).
-
Click Save

Add New Type
-
Go to the Asset Classifications page.
Type “Asset Classifications” in the Jump To box, or use the left menu bar to navigate to TrackAbout ConfigwAsset Classifications.

-
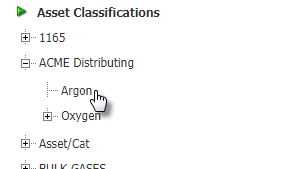
Click the Category the Type will belong to.

-
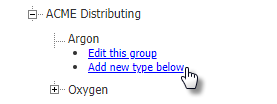
Click the Group the Type will belong to.
- Click Add New Type Below.
-
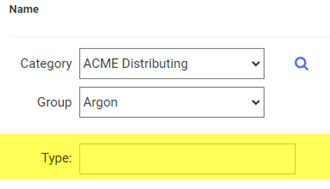
Enter a name into the Type field.
NOTE
The asset type is usually the size of the asset. The exception to this is if you are using the Rental Calculation module. In this case, the lowest possible pricing level is the asset type, so generally the asset type will be the same as the product code.
-
Click SAVE.
Adding a Product Code
NOTE
Even if the Product Code is the same as the Type, a Product Code must still be added.
-
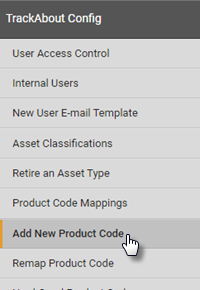
Navigate to TrackAbout Config w Add New Product Code.
-
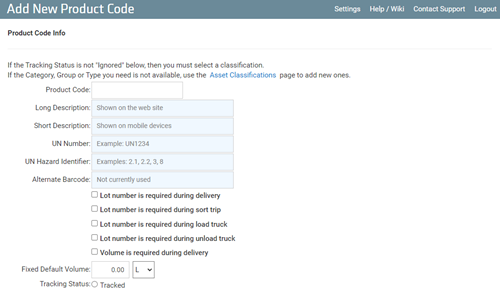
This opens Add New Product Code.
DON’T PANIC
Depending on customizations made for your organization, you may see different or additional fields here.
-
Enter a name into the Product Code field.

-
Enter a description into both the Long Description and Short Description fields.

-
Select how assets with this product code are to be tracked.
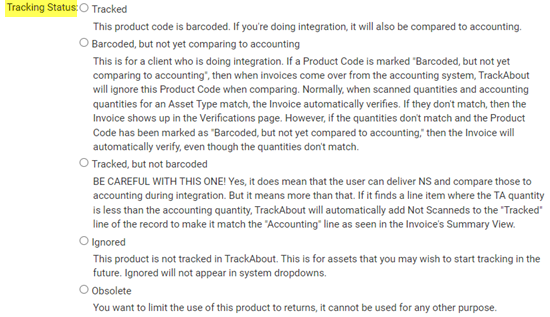
Select one tracking option:
-
Tracked
-
Barcoded, but not yet comparing to accounting
-
Tracked, but not barcoded
-
Ignored
-
Obsolete
NOTE
Need help deciding which tracking option to choose? Check out Tracking Statuses for more details on each option.
-
-
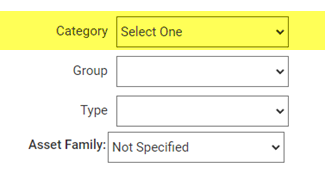
Select the Category the Product Code belongs to from the Category drop-down.
NOTE
If you’re using Empty Product Codes, skip steps 6 through 8 and see here instead.
NOTE
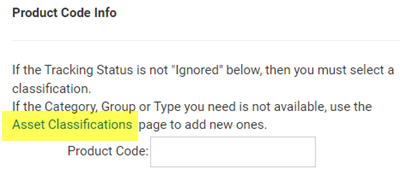
If the needed Category, Group, and Type are not listed, click the Asset Classifications link to set them up.
-
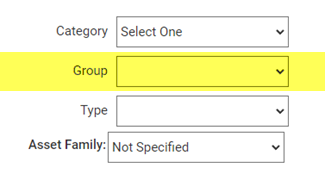
Select the Group the Product Code belongs to from the Group drop-down.
-
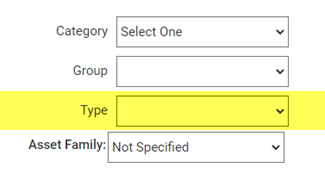
Select the Type the Product Code belongs to from the Type drop-down.
-
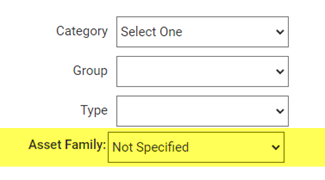
If you are using Asset Families, select the Asset Family the Product Code belongs to from the Asset Family drop-down.
-
Click Save

Empty Product Codes
If using Empty Product Codes:
-
If the product code represents an empty asset, check the Is Empty box when adding the product code.
NOTE
If the product code has already been added and saved without the Is Empty box selected, please contact TrackAbout Support to make this change.
-
If the product code represents a full asset, select the empty product code it should be associated with from the classification list.
Generic product codes that just indicate the size and material of the cylinder can be used during registration and then replaced with full gas codes during the first filling process.
-
Click Save
-
Assign any full product codes to the correct empty product code by:
-
Searching for the full product code on the Product Code Mappings page
-
Choosing the appropriate empty code in the Corresponding Empty Code section
-
NOTE
Unless there is a good reason, the product code should match the type exactly. This will reduce confusion in the long run. All product codes should start out with a Tracked status. The other statuses available are reserved for special circumstances.
If you are using Product Code Generation, be sure to add the product code to the appropriate Asset Family.
Editing Product Codes
If you need more detailed information on how to edit, remap, or rename product codes, please see the Editing Product Codes page.
Bulk Load Asset Classifications and Product Codes
If you would like to load a large number of classifications and product codes in bulk use the Bulk Load Asset Classifications page (instructions included on page).
Customizing TrackAbout
TrackAbout is highly customizable to meet specific business needs. If you are interested in customizing TrackAbout to better meet your needs, please contact TrackAbout Support.
