Customer Portal — User Guide
TrackAbout’s Customer Portal (aka Customer Tracking Portal) lets TrackAbout clients share tracking and delivery information with their customers. This guide is intended to help those customer users login to, use, and administer TrackAbout.
This guide is intended for Customer Portal Tracking users. For managing Customer Tracking Portal as a TrackAbout client, see Customer Portal — Client Administration Guide.
-
How to Login to TrackAbout Web
-
Using TrackAbout: Navigation and Menus
-
-
How to Login to TrackAbout Mobile 7
-
Using TrackAbout Mobile 7: Navigation and Menus
-
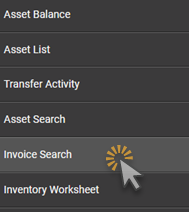
Invoice Search lets you easily find proof of delivery by Order Number or Purchase Order.
To use the Invoice Search:
-
Click Invoice Search from the main menu.
-
Enter either an Order Number or Purchase Order, then click SEARCH..

-
If a matching Delivery record is found, it is displayed here.
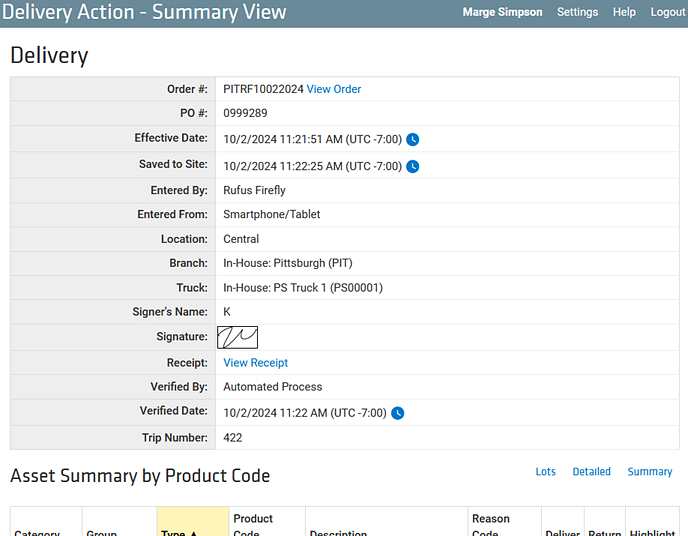
TrackAbout Proof of Delivery is provided as part of the delivery record kept for all tracked deliveries/returns and internal asset transfers.
To find the delivery record and proof of delivery:
-
There are multiple ways to open a delivery record to see proof of delivery:
-
Enter an Invoice Number in the Invoice Quick Search box.
-
Enter a Barcode in the Barcode Quick Search box.
-
Enter a Serial Number in the Serial Number Quick Search box.
-
Use Invoice Search to search for a specific invoice/order.
-
-
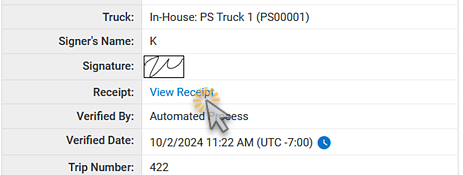
The Delivery Action record contains details of the delivery/return, and can be used as Proof of Delivery. Details include specifics about the delivery — including when it was made, the shipping order and PO number (if applicable), the location the asset was delivered to or returned from, and what was delivered or returned.
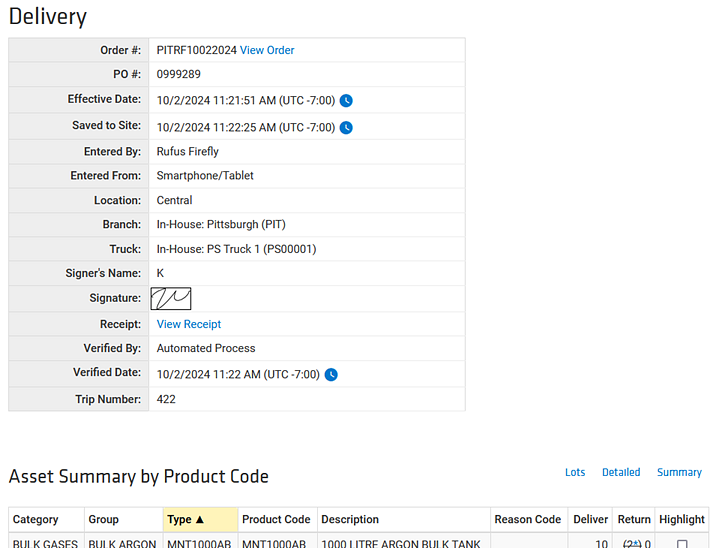
The record also contains a copy of the delivery receipt and the electronic signature of the person who accepted the delivery (if applicable).
-
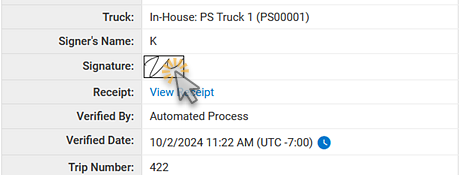
To view the sign-off signature, click the image thumbnail.
-
To view the receipt, click View Receipt.
-
-
The record also includes details about the tracked assets delivered and returned during the inventory. By default, a summary view is displayed. You can also select a detailed view and a lots view.

Summary View — Tells you by asset classification what quantities were delivered/picked up.

Detailed View — Shows you quantities delivered and returned by product code, barcode and serial number.


-
If an asset was returned from an internal location different to the location it was delivered to, you’ll see which sub account received the return credit.
-
If you didn’t have enough assets on your balance to support a return, they’ll be listed under Returned Assets That Could Not Be Attached.

Lots View — Shows you asset information summarized by lot number.

-
How to Use the User List (Admin Only)
The User List lets you see and manage your TrackAbout Customer Portal user accounts.
Your supplier will have created the first user account, your admin account. Add additional admin or regular users accounts as needed.
To use User List:
-
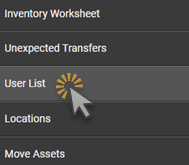
Click User List from the main menu.
-
This displays the list of all your users, along with details about their user account, access, roles, last login, and whether they’re locked out of their account.
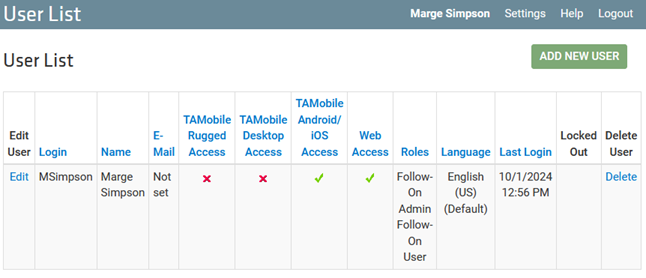
Click Edit to edit the user.
Click ADD NEW USER to add a new user.

How to Manage Locations (Admin Only)
Locations lets you view, edit, and add internal locations so that assets can be moved (and tracked) between them.
Locations lets you customize management of your assets once they have been delivered. This can be especially useful if you have a warehouse-style setup, where there may be centralized delivery but the assets could go anywhere internally once they are delivered.
To use Locations:
-
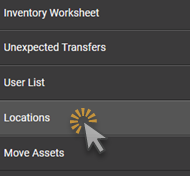
Click Locations from the main menu.
-
This displays your Locations. Your main location is listed first, with your other locations listed underneath.
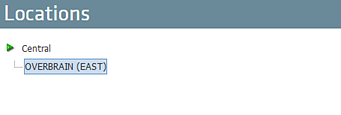
-
Hover over a location and click the green down arrow that appears to display additional options.
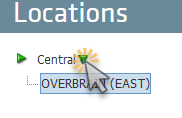
-
Click Edit this location to edit the location.

-
Click Add new location to add a location (option only available under main location).
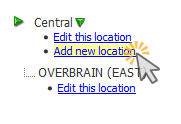
This opens Create a New Location.
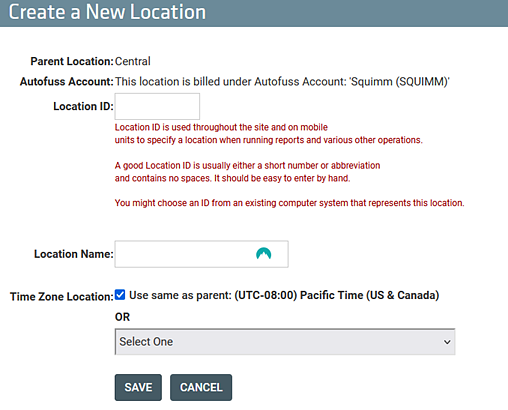
Location ID — An internal ID for an onsite location. This field is optional
Location Name — A recognizable “nickname” for the location.
Time Zone Location — Check to use the same time zone as your main (parent) location. Uncheck to select a time zone.
SAVE — Click to create the new location.
How to Move Assets (Admin Only)
Assets can be moved through TrackAbout Web or using TrackAbout Mobile 7.
To move assets using TrackAbout Mobile 7, use Customer Move Asset (aka Move Asset).
To move assets using TrackAbout Web:
-
Click Move Assets from the main menu.
-
This opens Move Assets.
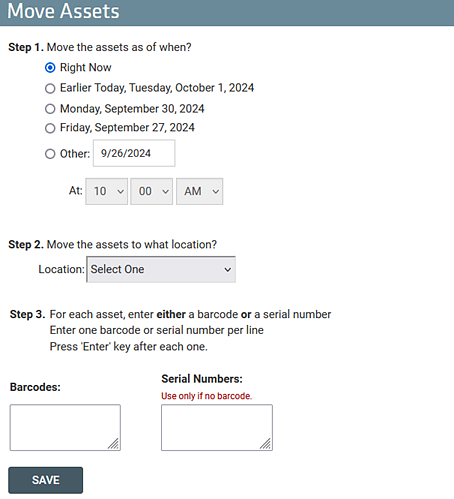
Step 1 — Select when the assets should be recorded as moved.
Step 2 — Select the location the assets are being moved to.
Step 3 — Enter the Barcodes of the assets being moved. If the assets don’t have barcodes, enter their Serial Numbers.
SAVE — Click to save.
